- activity_main.xml
<?xml version="1.0" encoding="utf-8"?>
<LinearLayout xmlns:android="http://schemas.android.com/apk/res/android"
xmlns:app="http://schemas.android.com/apk/res-auto"
xmlns:tools="http://schemas.android.com/tools"
android:layout_width="match_parent"
android:layout_height="match_parent"
tools:context=".MainActivity">
<Button
android:layout_width="match_parent"
android:layout_height="wrap_content"
android:id="@+id/button1"
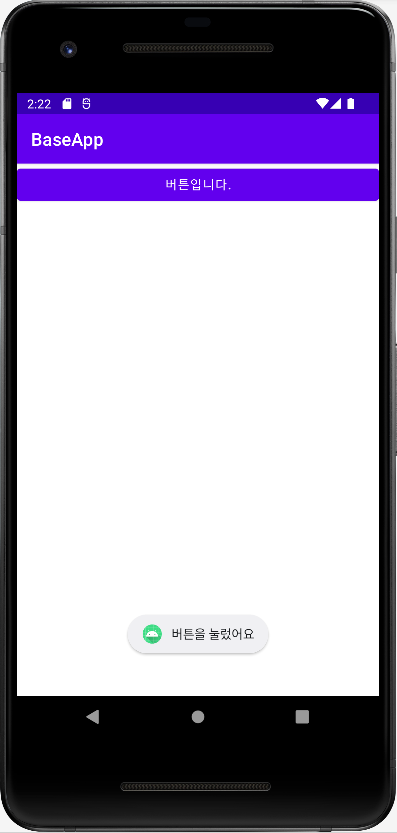
android:text="@string/strBtn1"
></Button>
<!-- strings.xml에 strBtn1 변수 생성 -->
</LinearLayout>
- strings.xml
<resources>
    <string name="app_name">BaseApp</string>
    <string name="strBtn1">버튼입니다.</string>
</resources>
- MainActivity.java
package com.cookandroid.baseapp;

import androidx.appcompat.app.AppCompatActivity;

import android.os.Bundle;
import android.view.View;
import android.widget.Button;
import android.widget.Toast;

public class MainActivity extends AppCompatActivity {
    Button button1; //button1 변수이름 -> activity_main.xml에서 지정함

    @Override
    protected void onCreate(Bundle savedInstanceState) {
        super.onCreate(savedInstanceState);
        setContentView(R.layout.activity_main);
        button1 = (Button) findViewById(R.id.button1);

        button1.setOnClickListener(new View.OnClickListener() {
            @Override
            public void onClick(View view) {
                Toast.makeText(getApplicationContext(), "버튼을 눌렀어요", Toast.LENGTH_SHORT).show();
            }
        });
    }
}
※ R 클래스

※ 안드로이드 애플리케이션의 큰 윤곽과 작성법

- 출처: Android Studio를 활용한 안드로이드 프로그래밍 7판 - 한빛아카데미
'Android > 1. 처음 만드는 안드로이드 애플리케이션' 카테고리의 다른 글
| Day 105 : HelloAndroid (0) | 2022.03.21 |
|---|